Each organization in the global community of Crossref members (that’s currently over 24k organizations in 166 different countries) plays a key role in building the Research Nexus. Any opportunity we have to meet with our members in person is a highlight and a way for us to learn more from each other. The month of January saw three of us travel to Bangkok to attend the first-ever Charleston Conference organised in Asia and to meet with our growing community in Thailand.
This year, we placed a spotlight on the Latin American community, hosting the second Crossref Metadata Sprint in São Paulo, Brazil from 4 - 6 March 2026. In our first tri-lingual event, we brought together 31 participants from Argentina, Brazil, Colombia, Ecuador, and Mexico. Our goal was to foster community co-creation using the open scholarly metadata. The Sprint was an opportunity to pose questions, share ideas, collaborate on research, and propose innovative solutions that enhance the use of metadata in scholarly communication and beyond.
Read on for more details about the content of the Sprint, and the resulting projects. You can also register to join our Sprint Showcase call on 22nd April to hear directly from the team about their creations.
On 17 March 2026, we experienced an outage that affected DOI resolution for Crossref DOIs and the deposit of metadata records by Crossref members. In this summary, we outline what happened, the impact on our community, and the steps we are taking to strengthen our systems and processes as a result.
We’re excited to announce a new data citation API endpoint and are seeking your feedback. The new service makes existing data citation relationships in our metadata available, thereby surfacing this part of the research nexus. At the same time, we’ve decided that it’s time to move on from Event Data.
Not sure if you’re using iThenticate v1 or iThenticate v2? More here.
Not sure whether you’re an account administrator? Check here.
Manage your admin account
Manage your admin account using the Account Information tab. From here, you can make changes to your details in My Profile, set up URL filters and phrase exclusions across the whole account, and set up API access to connect your iThenticate account to your manuscript submission system.
Your admin account profile (v1)
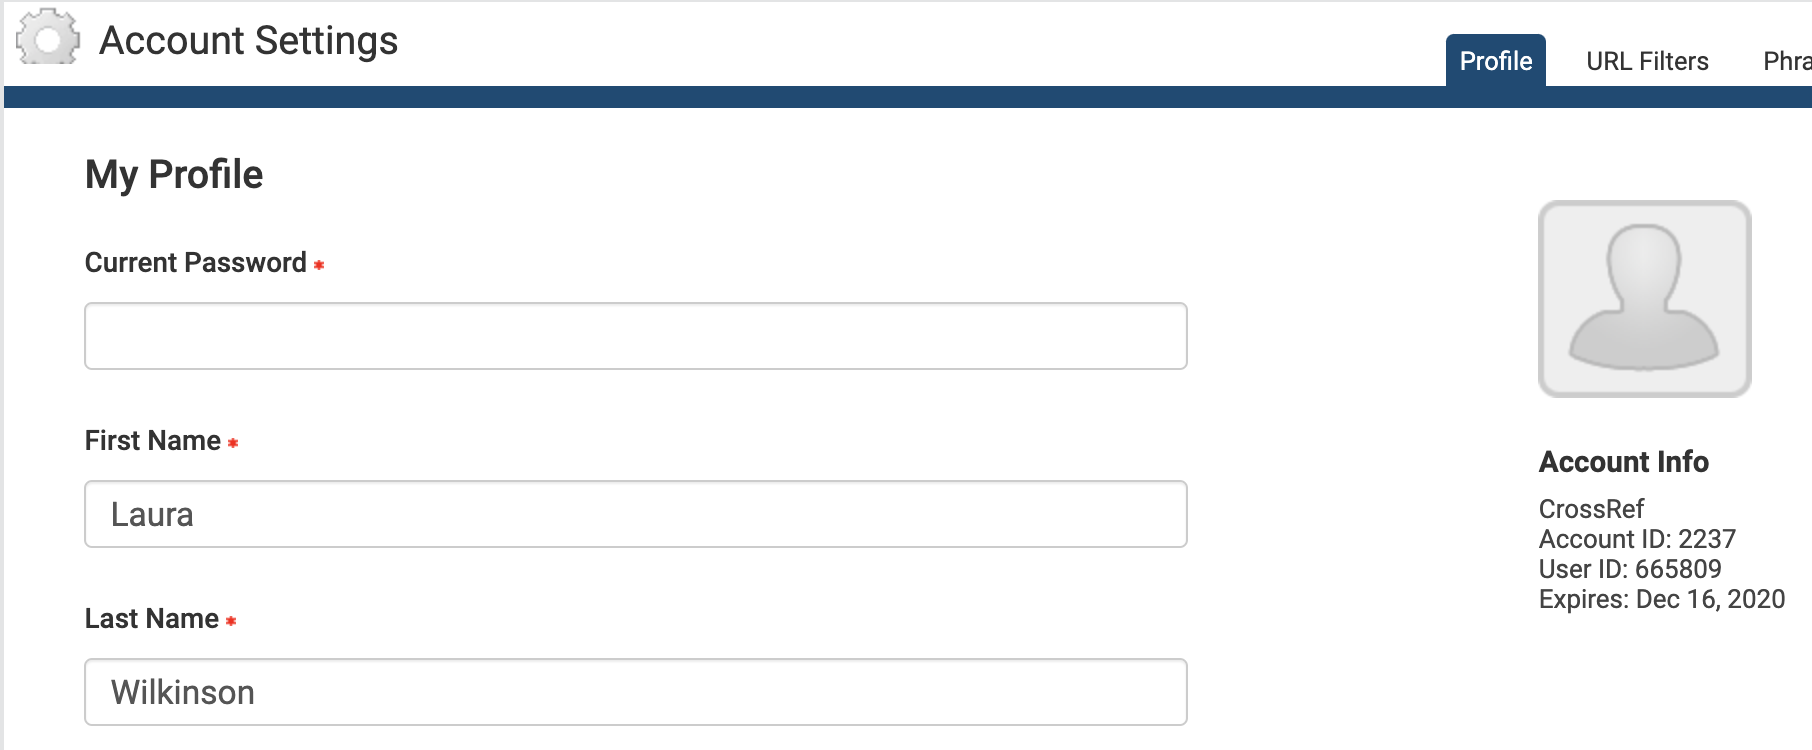
The Account Information section shows important information about your iThenticate account, including your account name, account ID, and user ID. Please ignore the iThenticate account expiry date - we’re working with iThenticate to have this removed. The iThenticate account expiry date is set to 1 June 2022 by default.
From Account Info, then My Profile, you can:
Update your profile: this form shows your current details. To make changes, enter your password in the Current Password field at the top of the form.
Change the name attributed to your account: enter the first and last name in the relevant fields. These fields are required, you cannot leave them blank.
Change your email address: enter your email into the email field. This email address is used to send you important account information, so please make sure it is valid. This field is required, you cannot leave it blank.
Add a photo to your account: click Choose File, and select the image file you want to upload.
Change your password: enter your current password in the Current Password field, enter your new password in the Change Password field, and enter it again in the Confirm Password field.
Click Update Profile to save your changes.
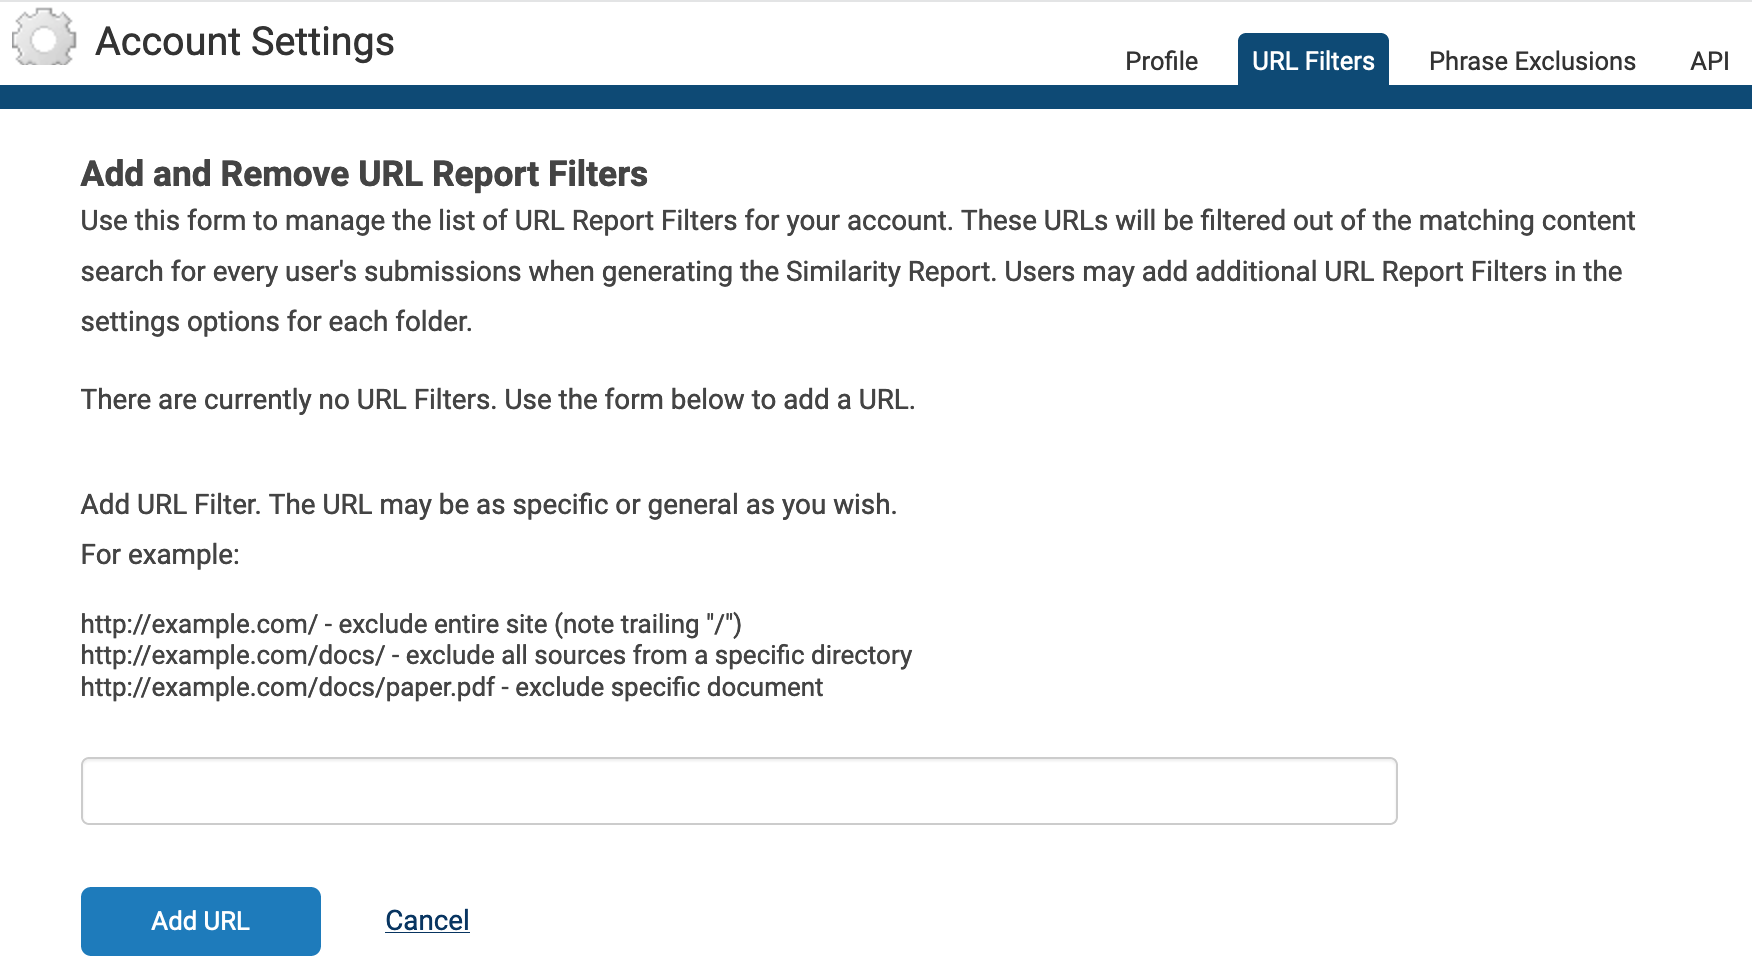
URL filters (v1)
This tab only appears if you are an account administrator.
Use URL filters to apply URL exclusion filters across your account. Any URLs that you add here will be ignored when the system checks your manuscript against the iThenticate database, and it will apply across your whole account. If you want to let individual users decide which URLs to exclude instead, they can do this themselves at folder level.
Add a URL to be filtered, and click Add URL. Don’t forget to include / at the end of your URL. Click the X icon to the right of the URL to remove it.
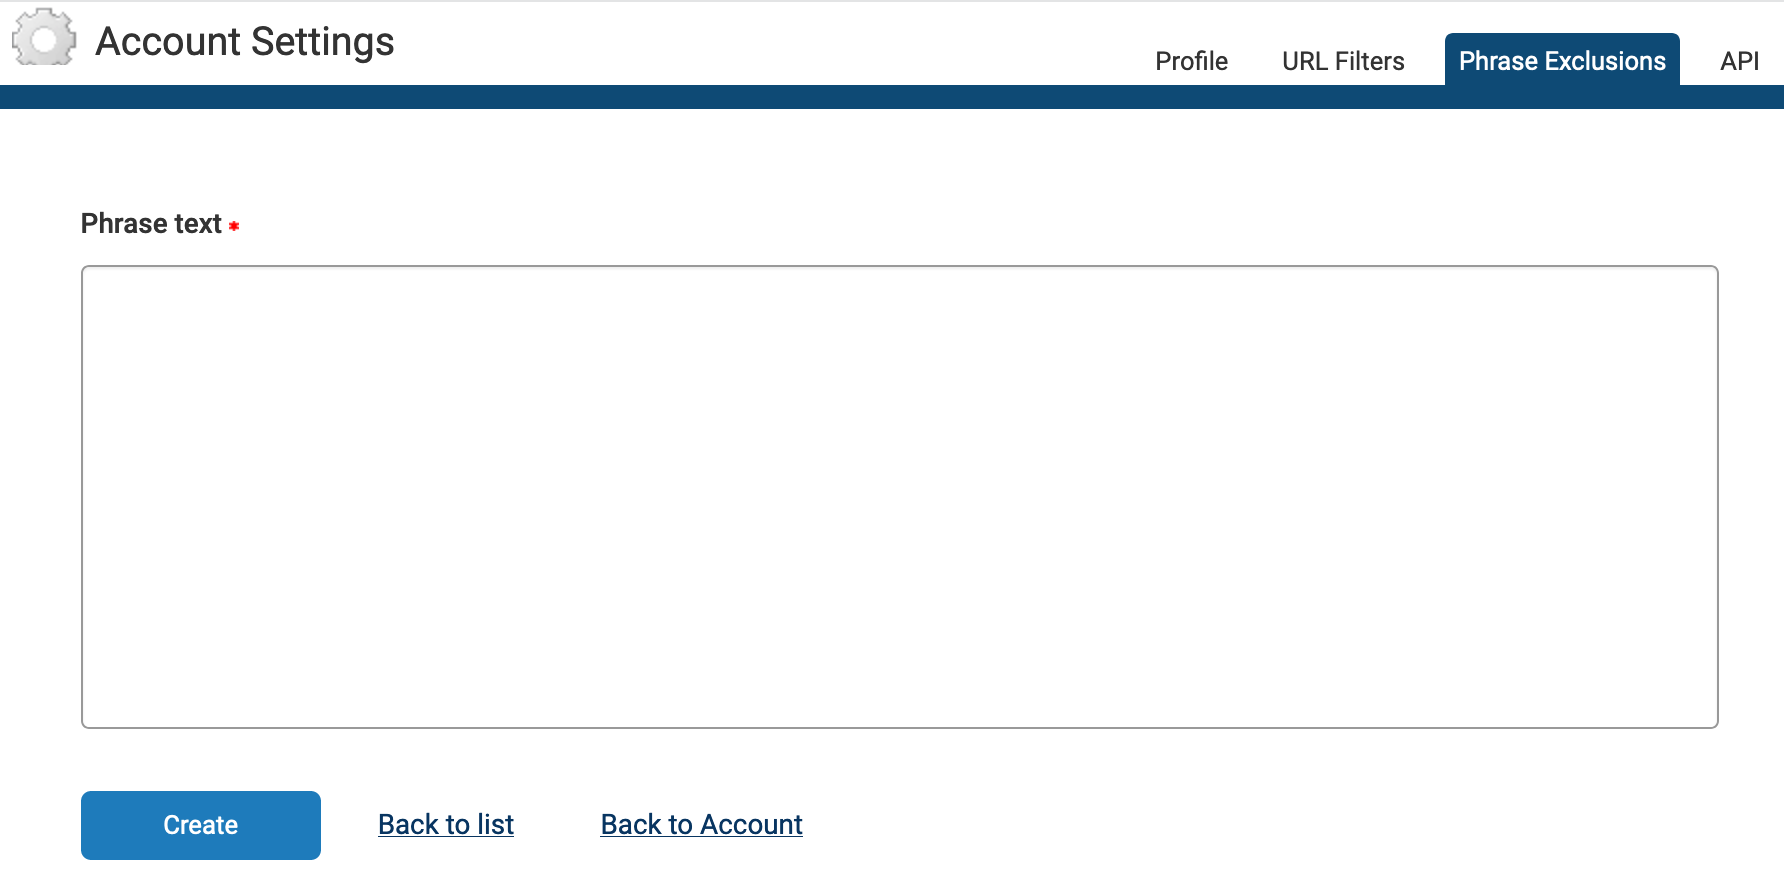
Phrase exclusions (v1)
This tab only appears if you are an account administrator.
Use Phrase Exclusions to apply phrase exclusion filters across your account. Any phrases that you add here will be ignored when the system checks your manuscript against the iThenticate database, and it will apply across your whole account. If you want to let individual users decide which phrases to exclude instead, they can do this themselves at folder level.
Click Add a new phrase, enter the phrase you would like to exclude in the Phrase text field, and click Create. You can add another phrase, go Back to List, or go Back to Account.
From the main Phrase Exclusions page, you can view, edit, or remove a phrase.
Page maintainer: Kathleen Luschek Last updated: 2022-July-15