In January 2026, our new annual membership fee tier takes effect. The new tier is US$200 for member organisations that operate on publishing revenue or expenses (whichever is higher) of up to US$1,000 annually. We announced the Board’s decision, making it possible in July, and––as you can infer from Amanda’s latest blog––this is the first such change to the annual membership fee tiers in close to 20 years!
The new fee tier resulted from the consultation process and fees review undertaken as part of the Resourcing Crossref for Future Sustainability program, carried out with the help of our Membership and Fees Committee (made up of representatives from member organisations and community partners). The program is ongoing, and the new fee tier, intended to make Crossref membership more accessible, is one of the first changes it helped us determine.
It has been 18 (!) years since Crossref last deprecated a metadata schema. In that time, we’ve released numerous schema versions, some major updates, and some interim releases that never saw wide adoption. Now, with 27 different schemas to support, we believe it’s time to streamline and move forward.
Starting next year, we plan to begin the process of deprecating lightly-used schemas, with the understanding that this will be a multi-year effort involving careful planning and plenty of communication.
Scholarly metadata, deposited by thousands of our members and made openly available can act as “trust signals” for the publications. It provides information that helps others in the community to verify and assess the integrity of the work. Despite having a central responsibility in ensuring the integrity of the work that they publish, editorial teams tend not be fully aware of the value of metadata for integrity of the scholarly record. How can we change that?
Crossref was created back in 2000 by 12 forward-thinking scholarly publishers from North America and Europe, and by 2002, these members had registered 4 million DOI records. At the time of writing, we have over 23,600 members in 164 different countries. Half of our members are based in Asia, and 35% are universities or scholar-led. These members have registered over 176 million open metadata records with DOIs (as of today). What a difference 25 years makes!
In our 25th anniversary year, I thought it would be time to take a look at how we got here. And so—hold tight—we’re going to go on an adventure through space and time1, stopping every 5 years through Crossref history to check in on our members. And we’re going to see some really interesting changes over the years.
The Metadata Manager tool is in beta and contains many bugs. It has been deprecated since 2021 and will be sunset at the end of 2025. We recommend using an alternative such as the record registration form, the web deposit form, or the OJS plugin if your content is hosted on the OJS platform from PKP.
The Review selection provides a condensed view of all the metadata you’ve provided in the form, so you can check it before submitting the record for deposit. Click Continue at the top of the form, and select Review. You can also Review All submissions on the To deposit screen before submitting the deposit.
Submitting a deposit
When you have finished adding article metadata and would like to deposit, click Continue from the article form, and select Add to deposit.
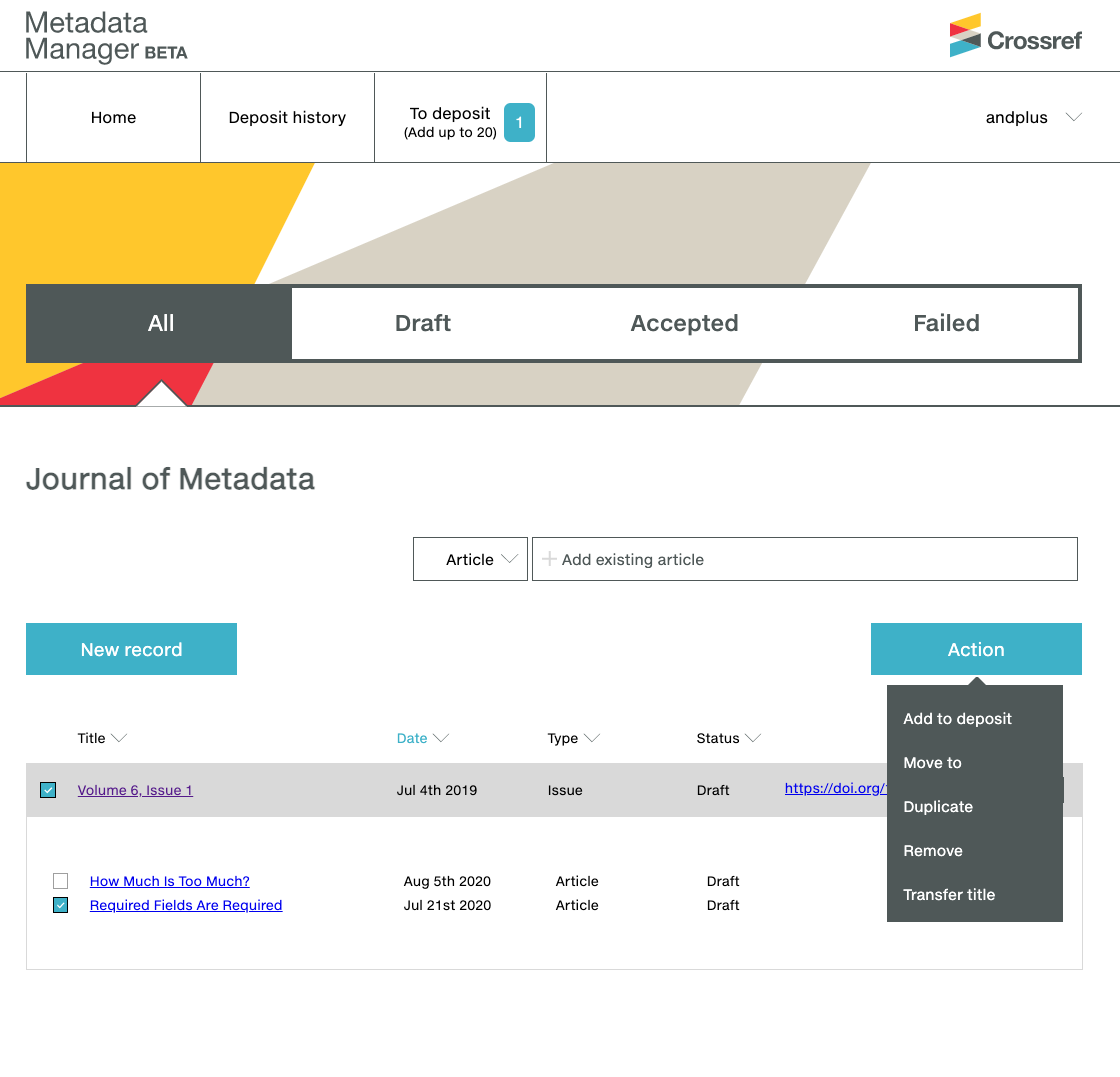
You can also do this from the Record List - select the article(s) you would like to deposit by checking the box to the left of the article title. You will then see the Action menu, and you can select Add to deposit. You can also move to, duplicate, and remove selected records using these buttons in the Action menu. If you select Remove for a record that has not been deposited, it will be erased from Metadata Manager. Records previously deposited will not be deleted from our system, only removed from the Metadata Manager workspace. If you created an article outside of a volume or issue, you can associate it with a volume or issue using Move to.
To submit your item(s) for deposit, click To deposit at the top of the screen. Please submit a maximum of 20 articles at a time. This will reduce the chance of an error with Metadata Manager.
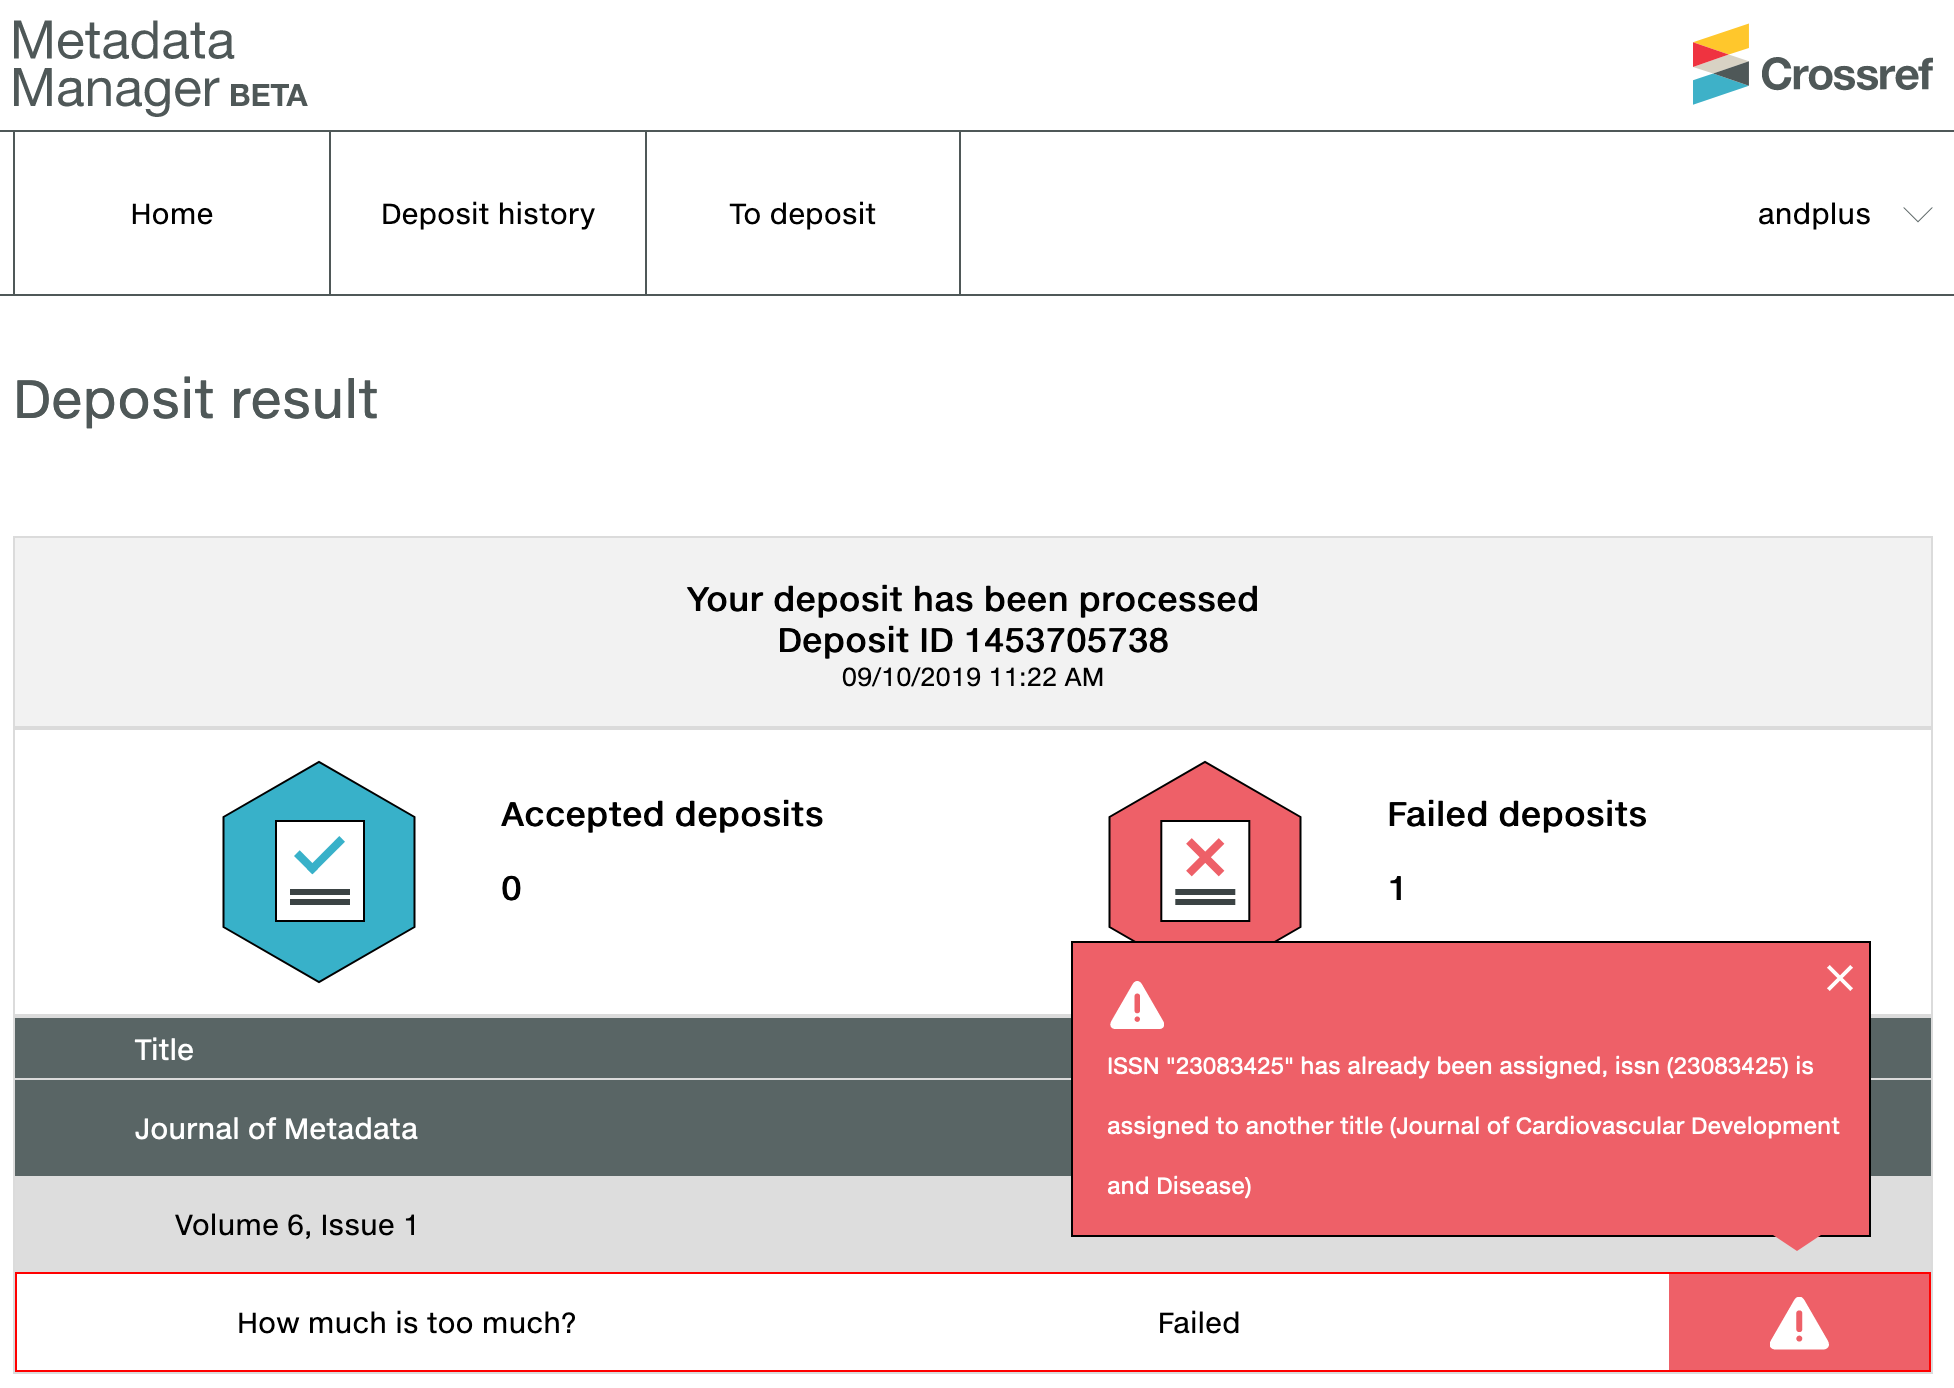
Here, you can collect and review all your journal-specific records using Review all. The system will display any errors with a red flag by the respective record(s). You must correct these errors before you can deposit. If there are no errors, the Deposit button will be activated. Click Deposit and the system will immediately process your deposit request.
Page maintainer: Sara Bowman Last updated: 2022-July-22