Every year we release metadata for the full corpus of records registered with us, which can be downloaded for free in a single compressed file. This is one way in which we fulfil our mission to make metadata freely and widely available. By including the metadata of over 165 million research outputs from over 20,000 members worldwide and making them available in a standard format, we streamline access to metadata about scholarly objects such as journal articles, books, conference papers, preprints, research grants, standards, datasets, reports, blogs, and more.
Today, we’re delighted to let you know that Crossref members can now use ROR IDs to identify funders in any place where you currently use Funder IDs in your metadata. Funder IDs remain available, but this change allows publishers, service providers, and funders to streamline workflows and introduce efficiencies by using a single open identifier for both researcher affiliations and funding organizations.
As you probably know, the Research Organization Registry (ROR) is a global, community-led, carefully curated registry of open persistent identifiers for research organisations, including funding organisations.
We began our Global Equitable Membership (GEM) Program to provide greater membership equitability and accessibility to organizations in the world’s least economically advantaged countries. Eligibility for the program is based on a member’s country; our list of countries is predominantly based on the International Development Association (IDA). Eligible members pay no membership or content registration fees. The list undergoes periodic reviews, as countries may be added or removed over time as economic situations change.
Retractions and corrections from Retraction Watch are now available in Crossref’s REST API. Back in September 2023, we announced the acquisition of the Retraction Watch database with an ongoing shared service. Since then, they have sent us regular updates, which are publicly available as a csv file. Our aim has always been to better integrate these retractions with our existing metadata, and today we’ve met that goal.
This is the first time we have supplemented our metadata with a third-party data source.
Registering new articles and working with volumes/issues
Documentation Menu
Registering new articles and working with volumes/issues
The Metadata Manager tool is in beta and contains many bugs. It has been deprecated since 2021. We recommend using the web deposit form as an alternative, or the OJS plugin if your content is hosted on the OJS platform from PKP.
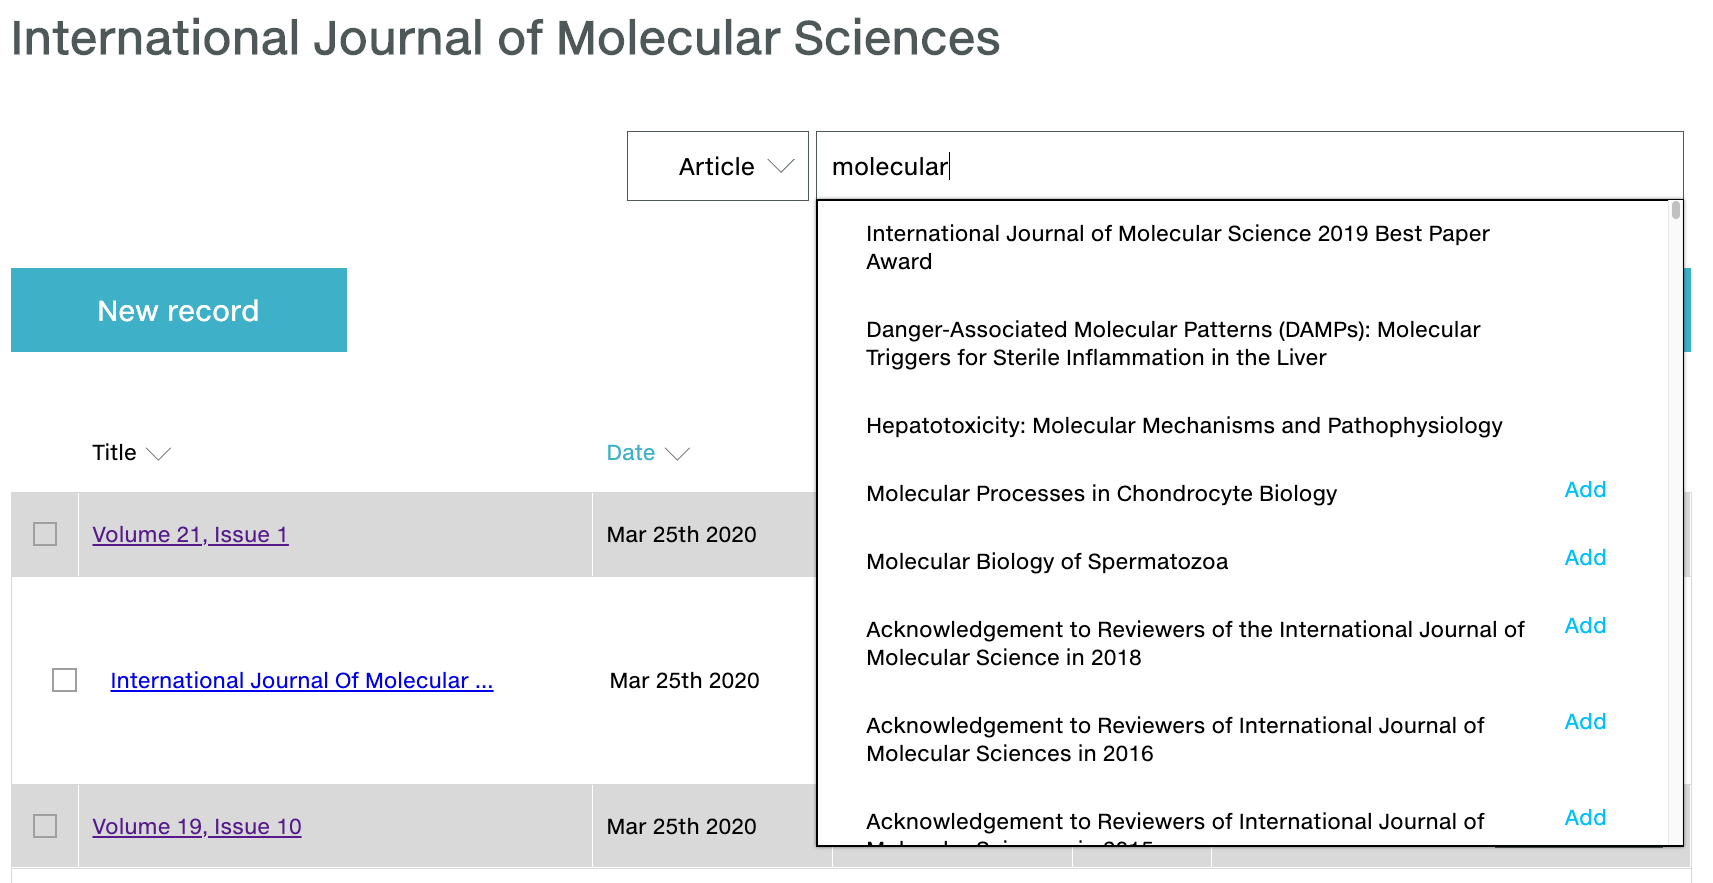
Click into the journal to view all of its associated articles in your workspace. You will only see previous deposits made using Metadata Manager. To see deposits made using other deposit methods, manually add them by searching for the article using Search.
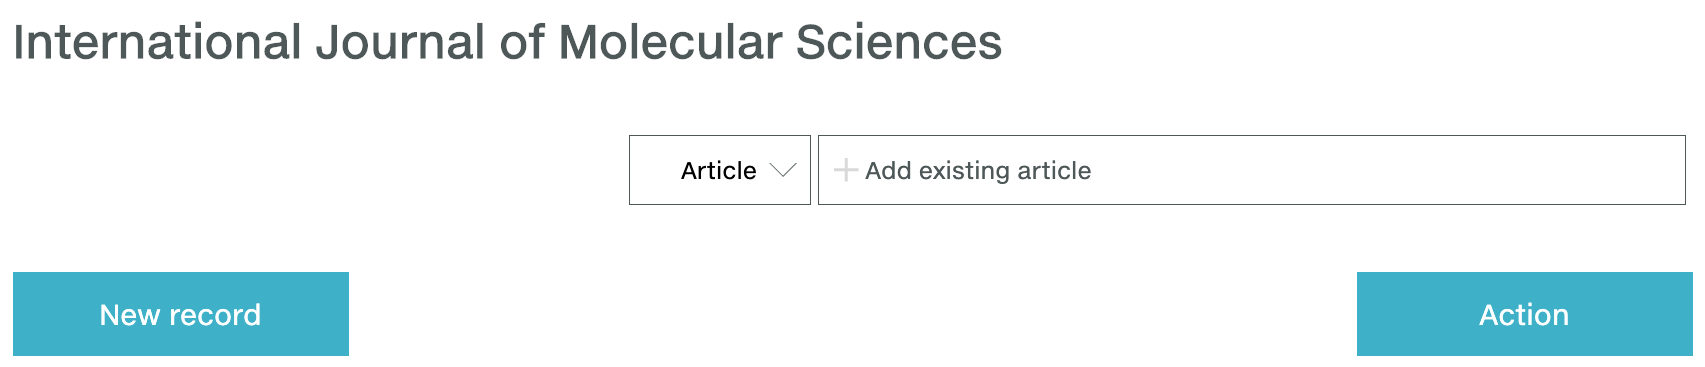
If your journal does not have volumes or issues, click Add record, select New article, and go to add article metadata.
New article in new volume and/or issue
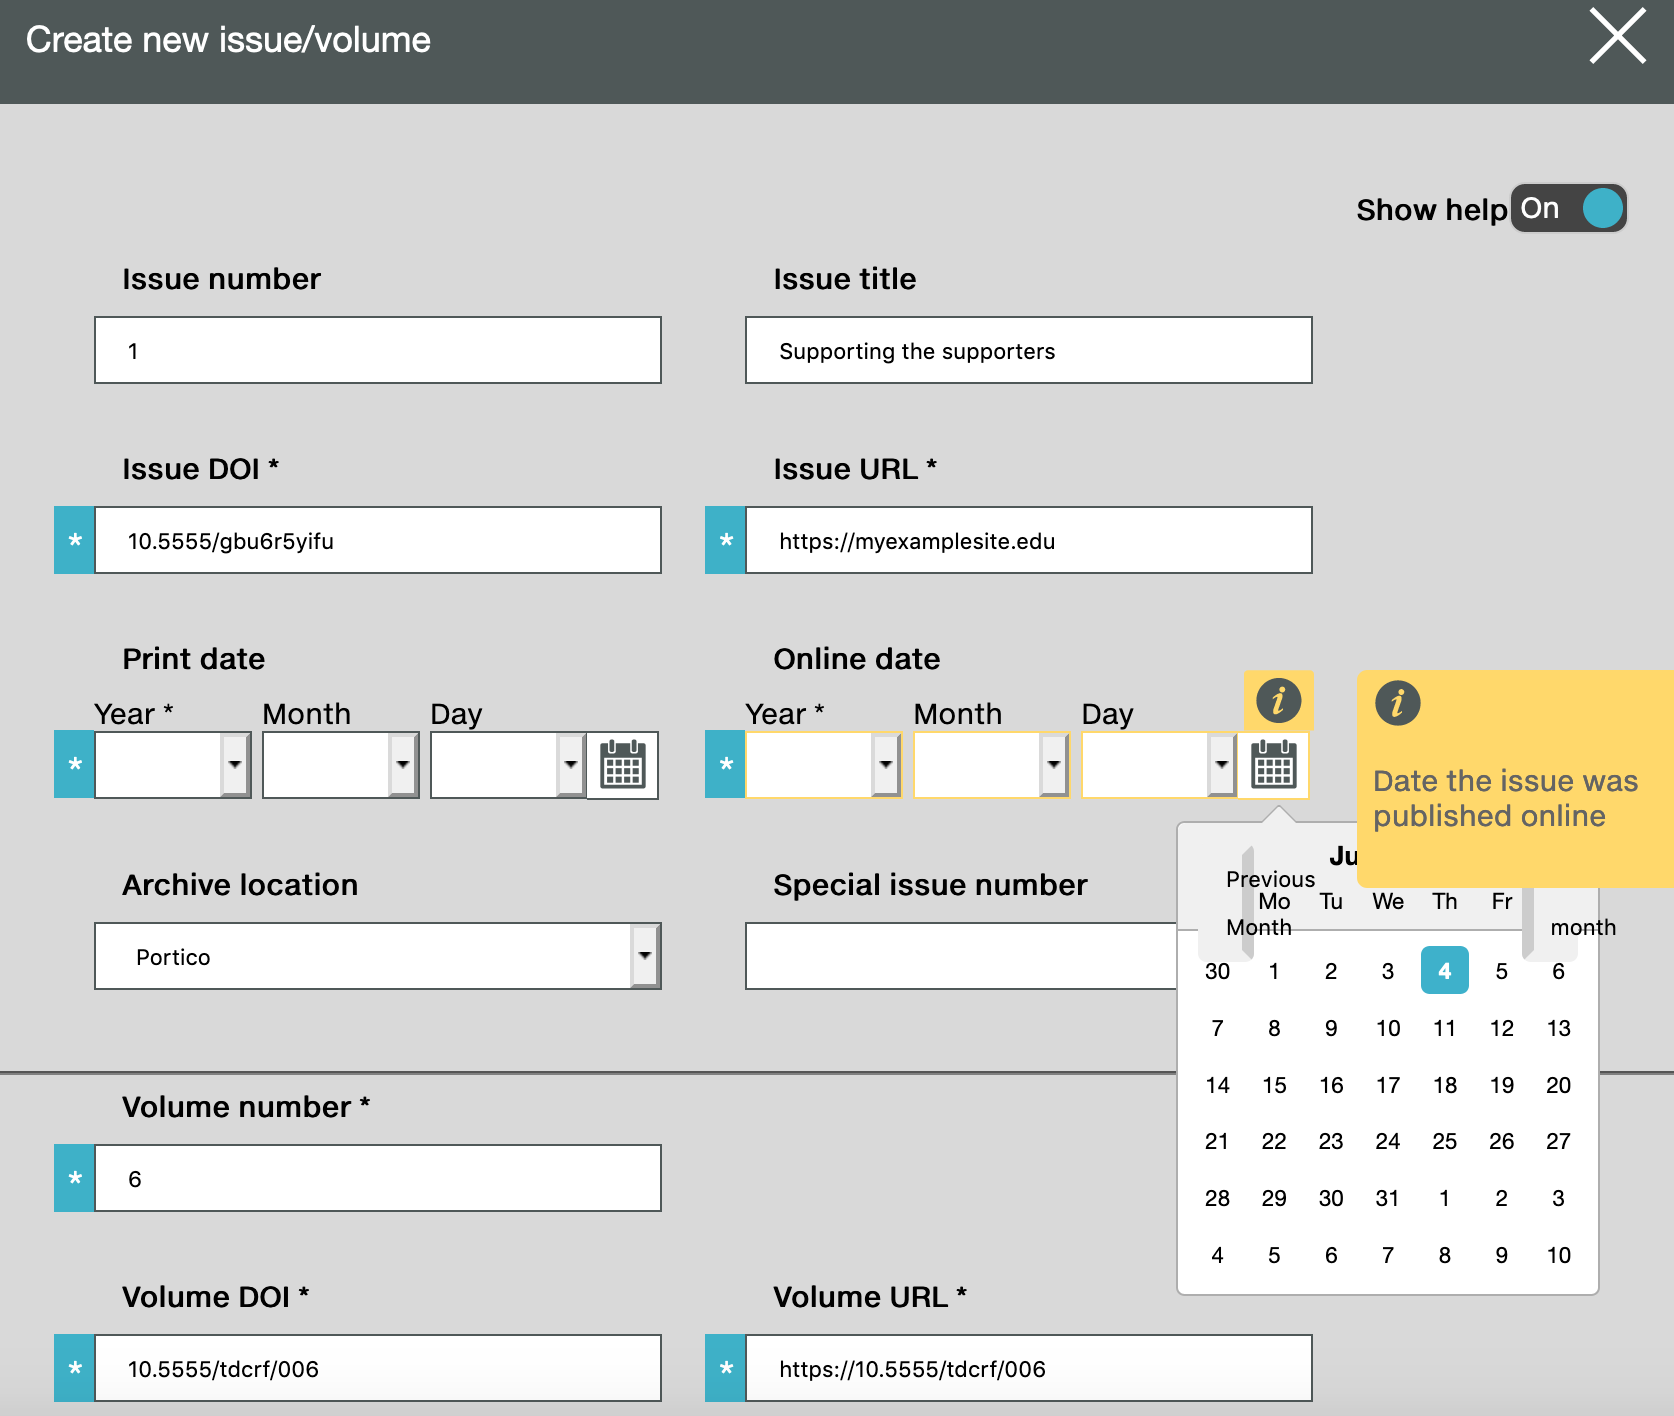
If the article is part of a new volume and/or issue, click Add record and select New volume/issue. Complete the fields in the volume/issue form. The blue/asterisk * mark indicates a required field. Click Save, then click Close. The volume/issue is now added into your workspace (you only need to do this once for all articles associated with this volume/issue). The volume/issue now appears in your journal Record List - click Add article on the right of that row.
If the new article is part of an existing volume or issue, click on Add article by the relevant volume/issue. To add an existing volume/issue to your workspace, enter its DOI into the search bar and click Add.
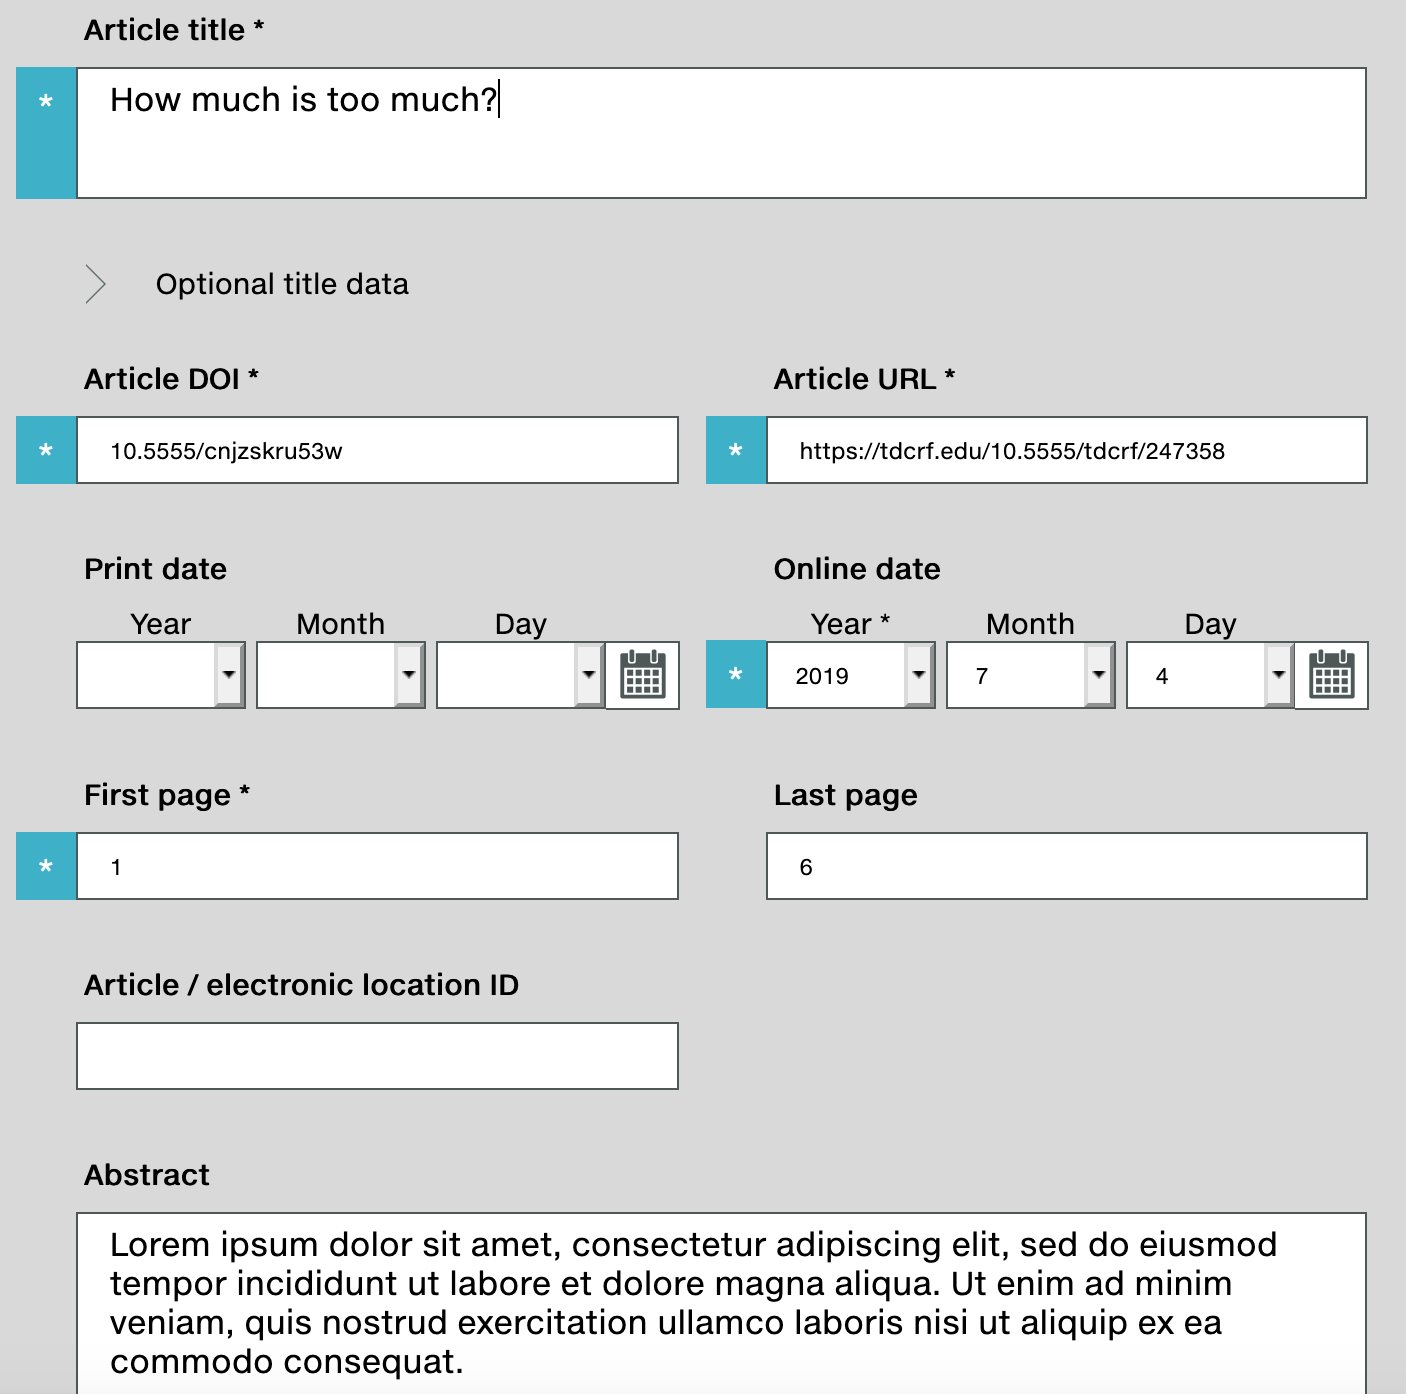
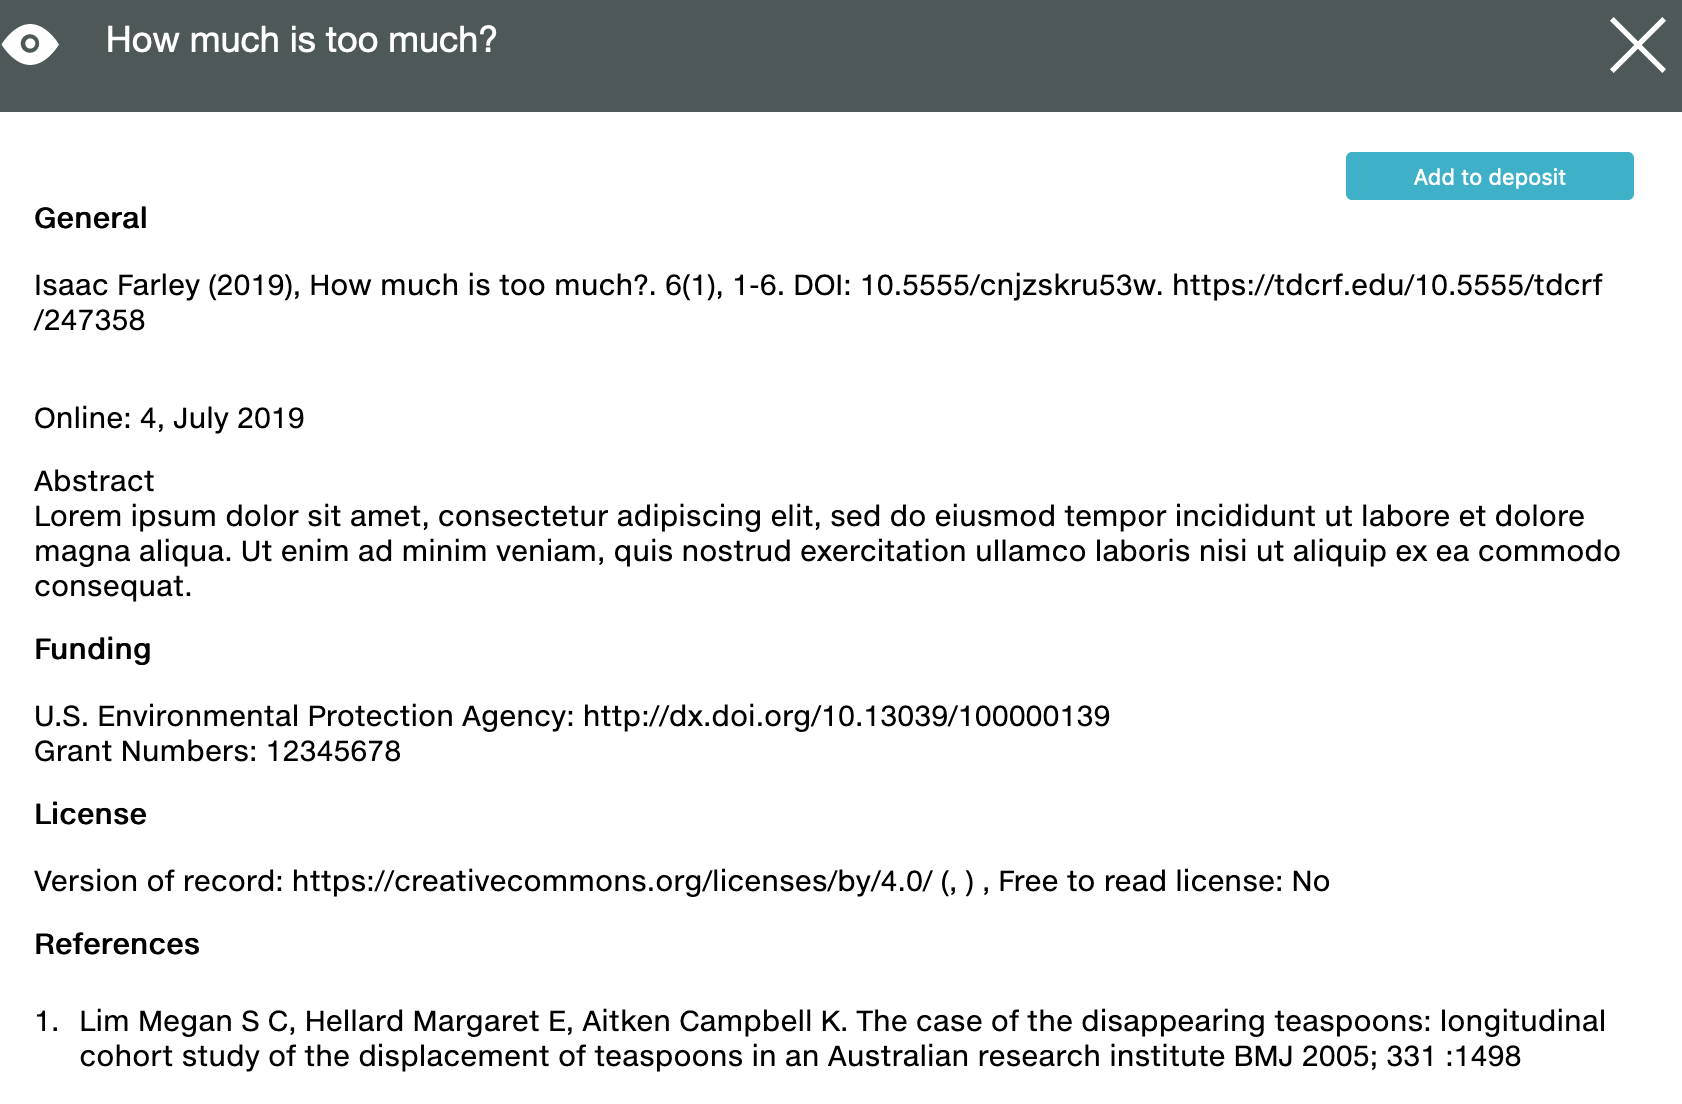
Provide contributor, funding, license, references, and additional metadata by clicking on each section to open it out. The blue/asterisk * mark indicates a required field, and we recommend that you deposit as much metadata as possible for the optional fields.
At any time, click Continue (at the top right of the screen) and select Add to deposit, Save, or Review.
If you would like to know more about the metadata for each field, we provide tool tips that appear on the right side of the form. You can turn these off be selecting Off in Show help slider at the top of the form. For a broader overview, explore our metadata best practices.
Metadata Manager checks your metadata to ensure that you provide the correct type of information needed for a successful deposit. You will see warnings when the metadata does not validate, which contain guidance on the type of metadata we are expecting. These do not need to be corrected until you are ready to submit the deposit.
If you participate in Crossmark, you can also add Crossmark metadata to the article record using Metadata Manager. This section will automatically appear at the bottom section of the article form for Crossmark participants - please contact us if the section doesn’t appear for you.
Page owner: Sara Bowman | Last updated 2022-July-22